Introduction: Why Encrypt Your Email?
Email is one of the oldest and most essential tools on the internet—but by default, it’s also one of the least secure. Sending an unencrypted email is like sending a postcard: anyone handling it along the way can easily read its contents.
Thankfully, you don’t have to be a spy, a hacker, or a tech expert to protect your private communications. And you don’t have to pay for a special email service or create a new address, either. With free tools like Thunderbird and PGP encryption, you can send secure emails directly from your existing inbox.
In this guide, I’ll show you exactly how to set it up—quickly, safely, and free.
What You’ll Need
- A computer with internet access.
- A free email account (Gmail, Outlook, Yahoo, etc.).
- Thunderbird email client (free and open-source).
- Thunderbird’s built-in OpenPGP support (no extra plugins needed with newer versions).
(Note: Older guides mention Enigmail; it’s no longer required.)
The Truth About Encrypted Email Services
You may have heard of encrypted email services like ProtonMail or Tutanota. While they offer good privacy features, they require you to create new email addresses and rely on their closed systems.
The good news:
You don’t need a special provider or a new email to encrypt your messages. With Thunderbird and PGP, you can keep using your existing email account and add strong encryption on top of it—giving you more control, more flexibility, and complete ownership of your communication without monthly fees.
✅ No new accounts.
✅ No extra payments.
✅ Just secure, private email on your terms.
(Note: Encryption happens inside Thunderbird itself—not through your provider’s webmail page like Gmail.com.)
Setting Up Thunderbird and PGP
Step 1: Install Thunderbird and connect your email account.
Step 2: Generate a PGP Key Pair:
- Go to Account Settings → End-to-End Encryption → Add Key.
- Choose to create a new personal OpenPGP key.
- Optionally set an expiration date (recommended for better key hygiene).
- Save your key securely.
Step 3: Understand the Basics:
- Public Key: You share it with others so they can send you encrypted emails.
- Private Key: You keep it secret; it’s used to decrypt incoming messages and sign your own messages.
(No need to understand complex math — Thunderbird handles it behind the scenes.)
How to Send an Encrypted Email
Step 1: Compose a new message in Thunderbird.
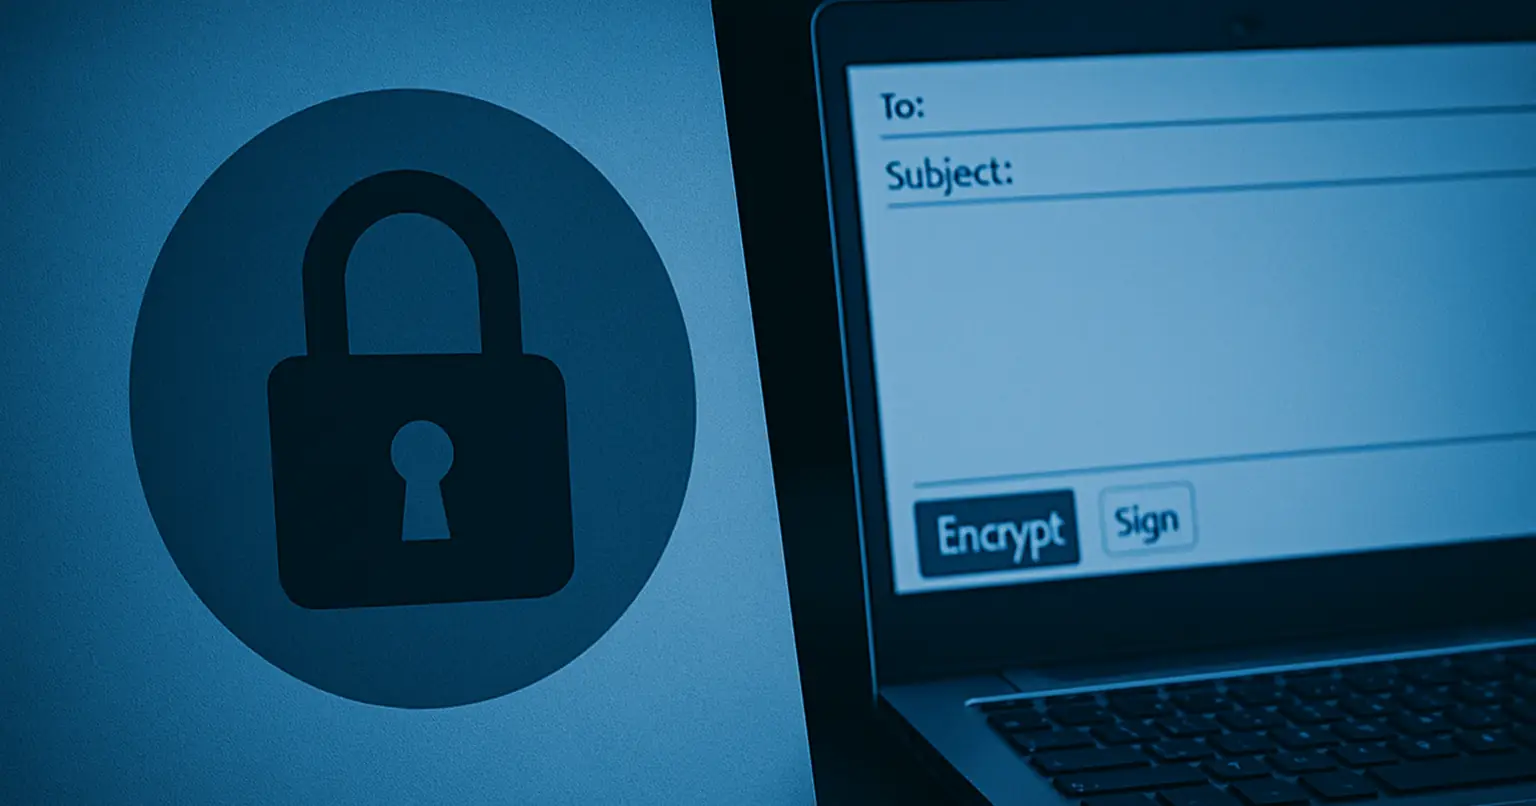
Step 2: Click the Encrypt and Sign icons above the message area before sending.
- Encryption ensures only the intended recipient can read the message.
- Signing proves the message genuinely came from you.
Step 3: If the recipient’s public key is available, Thunderbird will handle encryption automatically.
- If not, you can still digitally sign your message to prove authenticity.
Step 4: Send your encrypted message!
(Tip: Try sending a test encrypted email to yourself or a second email account first.)
Good Practices to Remember
Backup Your Private Key: Save it somewhere safe (external drive, encrypted vault).
Keep Your Private Key Private: Never share it with anyone.
Verify Public Keys: If possible, confirm that you’re using the real recipient’s key (especially for sensitive messages).
Use Expiration Dates: Setting a key expiration date encourages healthy key management habits.
Bonus Bit:
You can securely store your PGP private key inside a trusted password manager like Bitwarden. This gives you an encrypted backup you can access easily across your devices—without losing your key if your computer ever crashes. If you’re new to password managers (or want to learn why I recommend Bitwarden), check out Why You Need a Password Manager (and Why Bitwarden Is My Choice)
Just remember: securing your password manager with strong master credentials and 2FA is critical when storing sensitive keys!
Want to Practice? Encrypt a Message to Me!
If you’d like to try encrypting your first message with PGP, you’re welcome to use my public key!
I maintain a public key page with multiple mirrors and fingerprint verification for security:
🔹 Download My Public Key and View Details
Feel free to send me a test encrypted message — even a simple hello is perfect for practicing.
Conclusion: You’re Now in Control
With just a few steps, you’ve taken a powerful leap toward protecting your digital communications. You didn’t have to pay for a service, change your email address, or dive into complex software. You now control your own encryption—and that’s a major step toward real online privacy.
— Davo
Take a few minutes to practice today — the skills you build now could protect you for a lifetime.

